TIMELAPSE INSTALLATION
How to install our devices
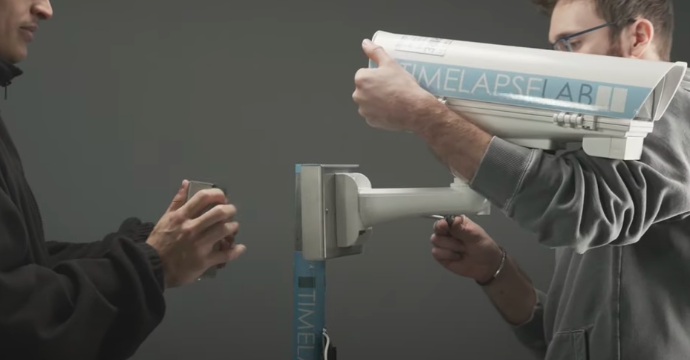
Installing our timelapse devices is a task entrusted directly to the purchaser without the help of specialized workers, thanks to the simplicity of activation of the TIMELAPSE LAB devices.
The installation process in a nutshell:
PLUG & PLAY
Once removed from the package, whatever it is, the device is ready for use. Timelapse Lab obviously also offers the wall plate with screws / dowels and the counterplate for pole with threaded screws for quick and easy installation directly on site. Quick installation is a strong point of the devices so that they start shooting in just a few minutes.
Once removed from the package, whatever it is, the device is ready for use. Timelapse Lab obviously also offers the wall plate with screws / dowels and the counterplate for pole with threaded screws for quick and easy installation directly on site. Quick installation is a strong point of the devices so that they start shooting in just a few minutes.
MATERIALS
the device;
wall plate with screws / plugs;
counterplate for pole with threaded screws;
This is all you need to be able to activate our devices, quickly and easily.

To install the Timelapse Lab device you do not need the use of specialized workers and no type of wiring, the device will be operational with minimum effort. Once the equipment of your choice has been installed, it will be able to perform all the functions provided by the software, from the creation of timelapse videos, to the management and archiving of images always available to the customer.

Storytelling
To tell the company in a completely innovative way
Monitoring
At a distance and 24 hours a day

Contentious
Clear images that constitute evidence for any disputes

4K videos
4K video for advertising purposes on request


