")
")
HOW TO REALIZE A TIME LAPSE
Competence and expertise

The main features of a timelapse video are its length and its immediacy. It appears quite simple to realize this product, but, in practice, it requires not only many years of experience in photography, editing and marketing, but also some specialized equipment.
LET’S SEE WHAT IS NEEDED TO REALIZE A TIME LAPSE VIDEO
TIME LAPSE DEVICE
SOFTWARE
TRIPOD (HIGHLY RECOMMENDED)
LONG LIFE AND SPARE BATTERIES
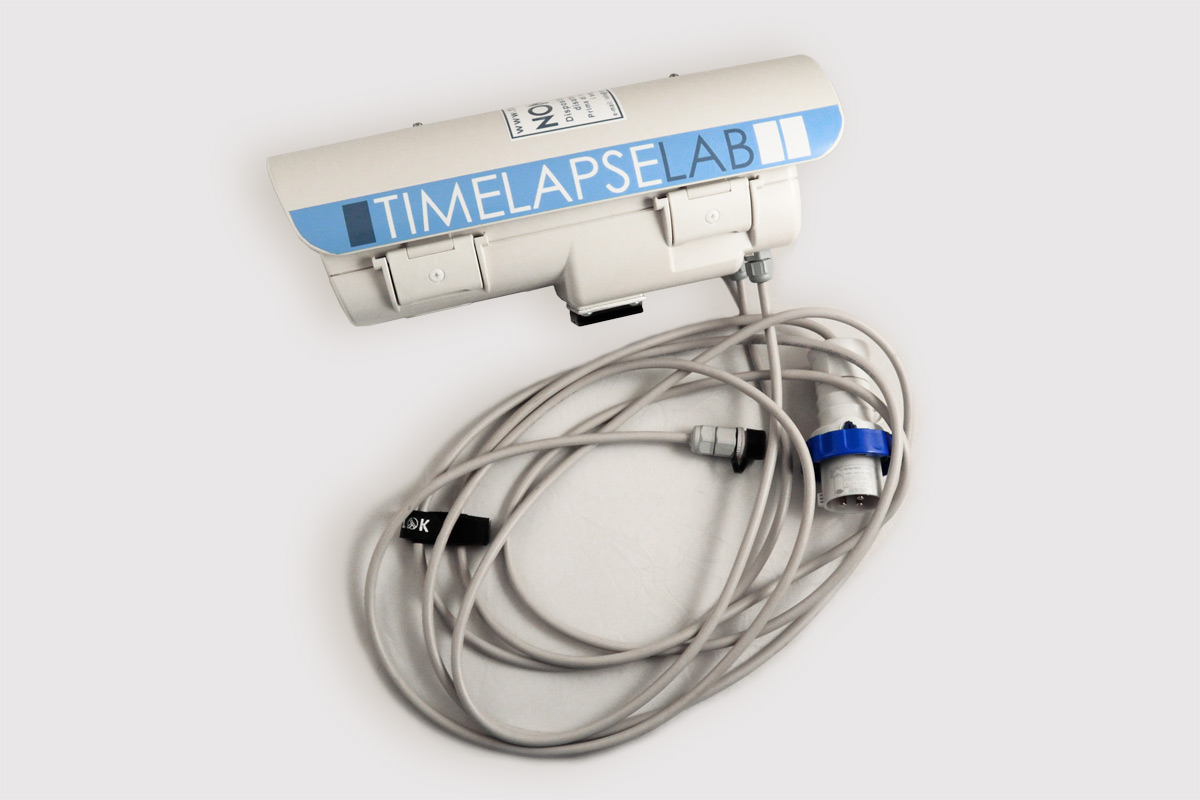
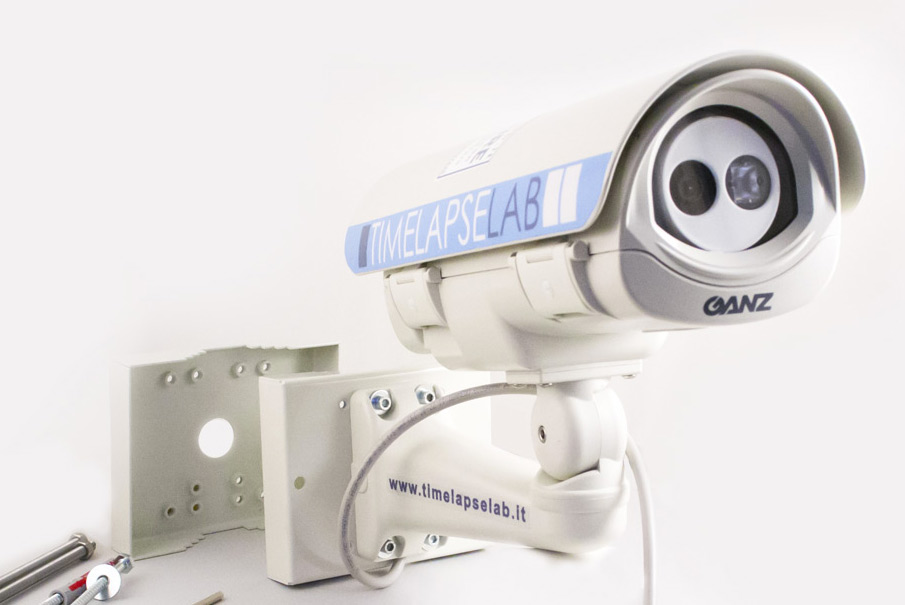
THE TIME LAPSE DEVICE
The time lapse function must be already set in the device, which can be fixed or mobile.
- The mobile one can be moved routinely within the construction site or the area you want to examine in order to have different perspectives. For example, it is possible to focus on certain types of processing or to observe some rapid changes of the surrounding nature.
- The fixed one can be easily installed on any surface and it is highly resistant to all temperatures and weather conditions (from wind and snow, to rain and sandstorms). It has a 360° rotating mechanism and it only needs to be connected to the electricity grid with an industrial socket (220v) for power supply.
- Continuous monitoring and alert: anomalies must be notified quickly;
- High quality through 4k system;
- Total reliability of the system operation;
- 24/ 7 alarm system (in case of malfunction);
- Complete data protection: data are always accessible online, no use of memory card on site.
The device must be user-friendly and ready-to-use (plug & play). It must have all the features that allow to realize amazing timelapses without using additional equipment.
TRIPOD
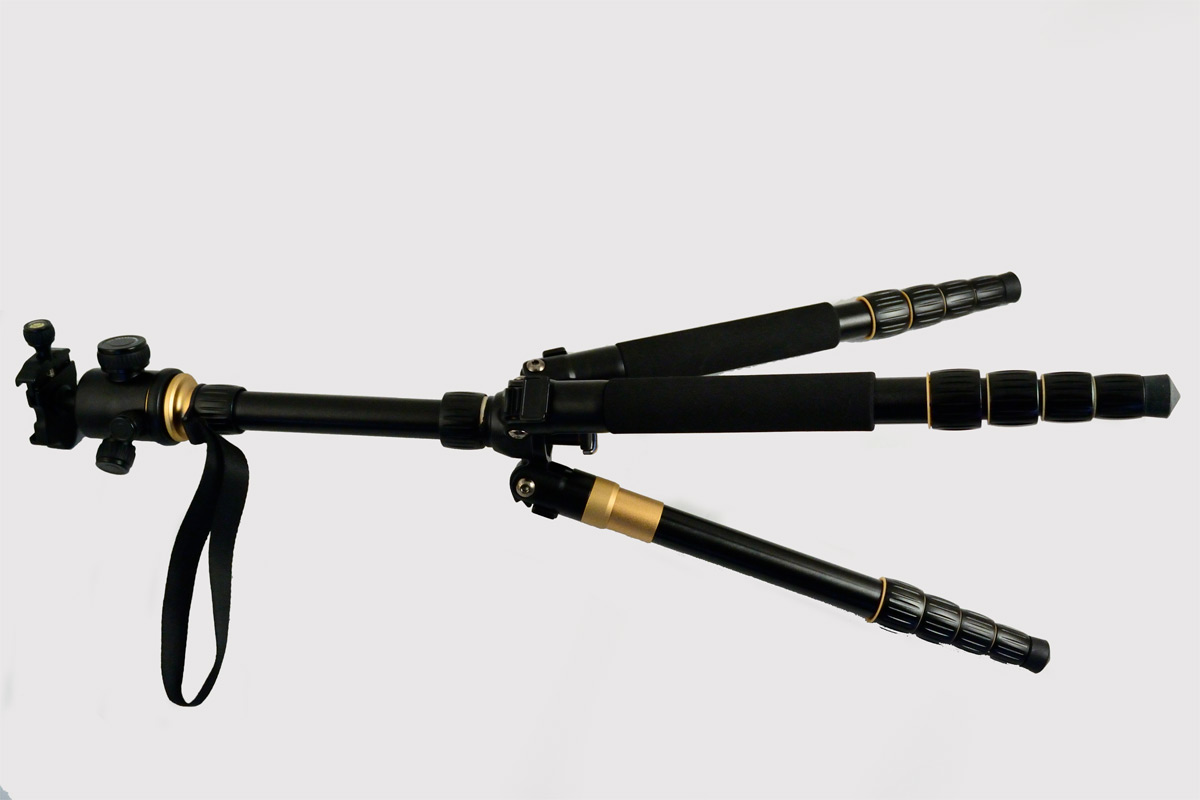
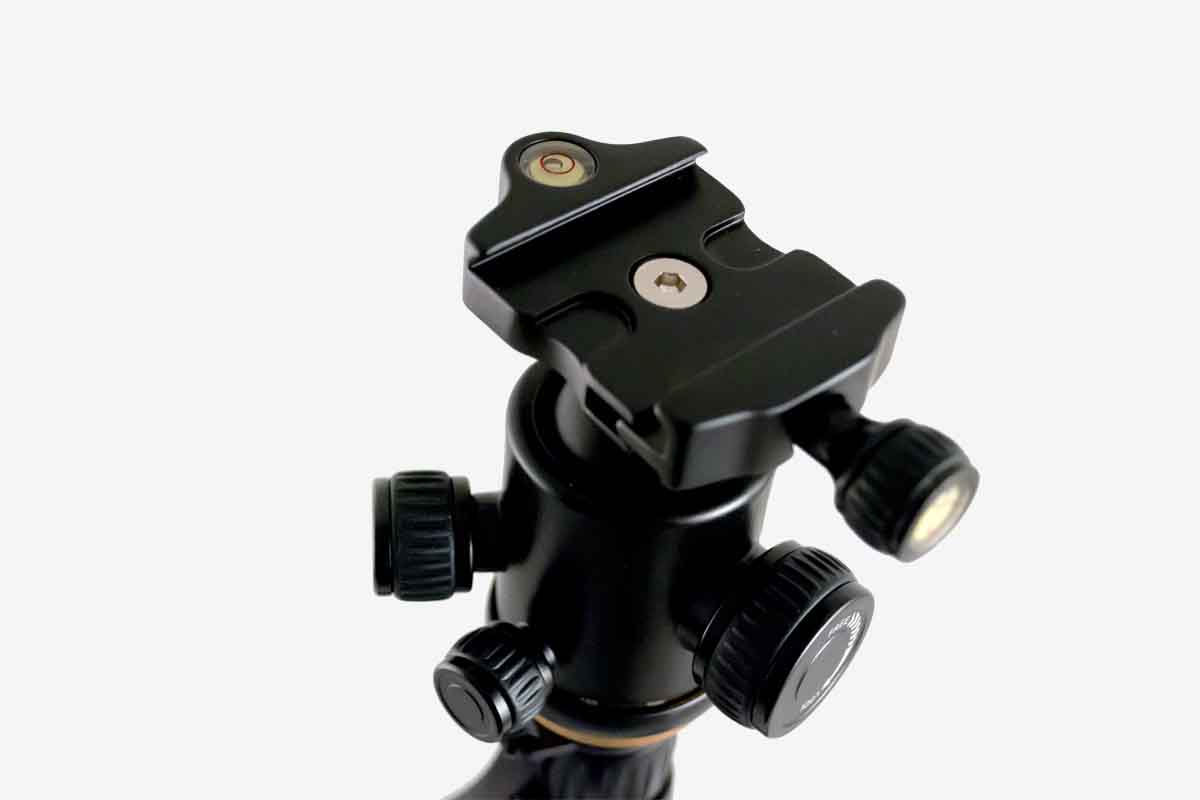
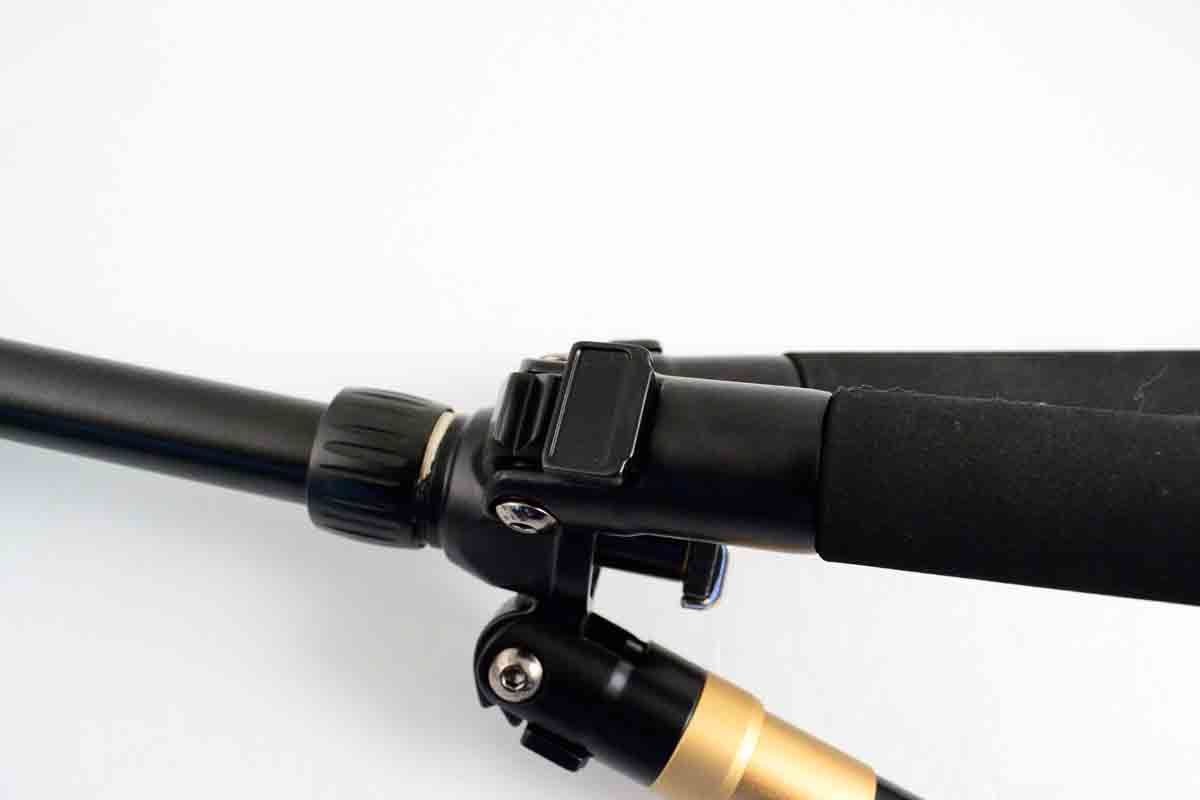
The mobile device needs a stable and resistant tripod: even if it is not essential, it enables to realize a successful time lapse video.
A good tripod should support the whole load without any problem and permit the stability of the device during the entire shooting session.
Our advice is to choose a rather high tripod with a removable head.
SOFTWARE
Once the device takes hundreds of photos, which could be used for the final video, it will be needed to use a software to put together the photo sequence.
Afterwards we will deal in more detail with the post-production of your time lapse video.

LONG LIFE AND SPARE BATTERIES
Powering the device continuously and without interruption during the shooting session is essential in order to avoid any kind of problem. Indeed, the device must have long life batteries in the event of a system power failure.
We ship plug & play devices all around the world.
We will find a professional solution tailored for you.
Contact us for a free quote.
HOW TO CREATE A TIME LAPSE VIDEO
A detailed, clear and simple guide to follow on any occasion.
The Timelapselab device is safe and reliable since it guarantees a high-quality service able to satisfy all the customer needs.
The perfect final workflow does not exist, but here we are going to describe the one that we think is more appropriate for a successful time lapse video.
1. CHOOSE THE SUBJECT TO SHOOT
At first you have to ask yourself:
- What do I want to shoot?
- What do I want to depict and how?
The timelapse technique is used to accelerate time: you have to choose a subject and a framing that could be interesting for the public. The timelapse purpose is to tell a story of a long-lasting event which is hardly visible to the naked eye.
For example, shooting the clouds moving is ideal for your first attempt of timelapse.
2. PUT THE DEVICE CORRECTLY ON THE TRIPOD
Are the batteries charged? Well, let’s start.
When you have chosen the subject and the framing, you can adjust the tripod: be sure that the framing is straight and leveled.
3. SET THE PHOTO FORMAT ON JPG
The JPG format, compared to the RAW format, enables to save more photos on the same memory card, because it saves more than the 60% of its occupied space.
4. WHICH TIMEFRAME SHOULD BE SET FROM ONE SHOT TO THE OTHER?
There is no correct answer. According to the subject you want to shoot, you can choose different timeframes. You can set it from 10 to 30 minutes, according to your needs and to the work that will be realized.
5. CLICK START AND RELAX
You can shoot a few test photos in order to check the best framing and then you can click start.
6. DOWNLOAD THE SHOTS FROM THE DEVICE TO YOUR COMPUTER
With the great amount of sequential photos on your computer, now you want to realize the video and see how your timelapse comes to life.
7. COLLECT THE IMAGES
Before you start creating the timelapse video, it is better to organize all the photos under the same directory.
8. CREATE THE VIDEO
To realize the timelapse video, now you need a post-production program such as Adobe Photoshop Adobe Premiere, Adobe After Effects, Pinnacle or Lightroom. When you have chosen the right sequence of the shots, you should import and edit them in a sequence video and choose the photo resolution and the timeframe among the photos that best suits you.
Now the program is able to recognize the shots automatically and to import them as a sequence of frames in a video.
9. POST-PRODUCTION
Before you export the timelapse video, it is possible to choose effects and adjust it to your needs. The post-production program allows you to choose from several options. Finally, the timelapse video will be edited, together with the adjustment of colors, the export in the video format and the wanted resolution.